Tenkara net making may be a good summer activity for kids. But, it’s probably best to start early because of the long drying period – though you can get away with a short drying.

When I met Kyosuke in the Japanese mountain village of Maze, he saw the nets I made. They are a traditional Japanese craft that may be at risk of dying. He had seen nets before at the museum and with other anglers but never saw them being made until I found a branch and started working on one. When he arrived to spend the month with us here in the States, one of the first things he asked me was if I could teach him how to make a tenkara net. Yesterday evening I finally had the time to take him out to look for the perfect branch. We hiked for nearly an hour, I showed him what we were looking for (he doesn’t speak English, and I’m trying my best to speak only in English to him, so we had some challenges, but he got it).

We found several branches that could work but were not good enough to cut. Some had an arm that was thicker than the other and would be hard to splice, others didn’t bend into a circular shape very well. I kept pointing out trees with good potential but told him we would only cut a branch if he was the one who found it, by himself. I found a couple of very good branches but we let those be. After about 2 miles of hiking, looking at probably 30 trees with potential, and just as night darkness started approaching and we’d be forced to return home, Kyosuke started looking at a tree. A couple of minutes later he called me, “Daniel, come.” I rushed over and was surprised he had found a branch with great potential. Not only that but that one branch actually had two nets in it. I passed him the saw and told him where to cut it to get the two nets.

It was dark well before we got back to the car. I had a headlamp in my pack but chose not to use it, remembering one of my childhood memories of fishing alone till it got dark and I had to walk back in the dark; it was terrifying but a memory worth having. We were also treated to a nice spectacle of several owls communicating with each other. Too-woo woo woo they called, and I taught him how to call at them too. We couldn’t see them even though we knew they were near, until one finally took flight to meet another at a bare tree. It was a huge owl, and you can just about make out their silhouette in the grainy photo. We spent a good while just watching them and another pair nearby. I guess that’s the type of thing that attracts me to the woods in search of branches more than the final nets themselves.

He was so proud, and I could tell. He carried the branch back to the car for over a mile, refusing any help I offered on the way.
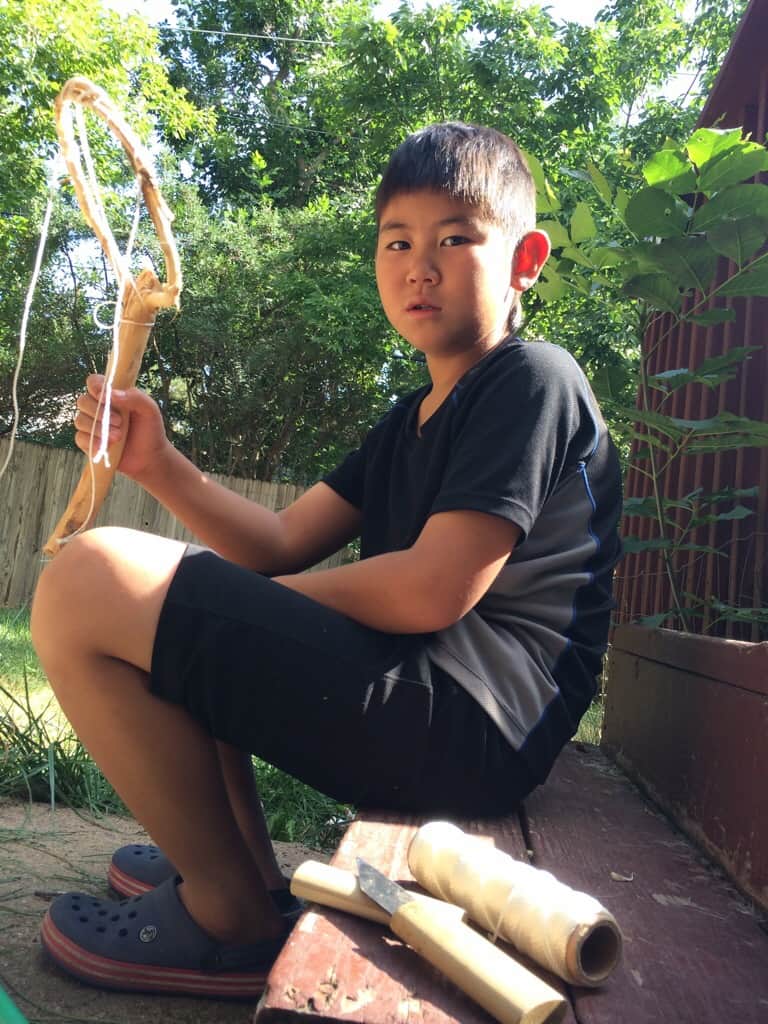
We got home and I told him to remove the needles by cutting them (rather than pulling which causes the branch to reveal small holes. He woke up and resumed work, and then I showed him how to remove the bark and finally how to tie it into it’s desired drying shape. He is now on step 3 of making his own net and now it’s mostly waiting before steps 4-9. Scroll down to read the steps for tenkara net making.

Here are the steps for tenkara net making:
1) go for a hike, find and cut the ideal branch (not Y-shaped, but more like trident or + shaped). Focus on only the best branches, you’ll spend a lot of time crafting your net later and don’t want to waste it on a branch that is sub-par.
2) remove needles and secondary stems, and remove bark while it is green (you do not want to let bark dry as it will be super difficult to remove later. When it is green it almost peels off like a banana with some cuts and and there.
3) bend into circular shape, use cord, sticks or a wok-holder to shape it into as best a circle as possible. A circle is the strongest shape for a net, especially where it will be spliced. I highly recommend trying to achieve a circle as the net will last much longer that way.
4) let dry (3 months to a year or more depending on how dry your area is)
5) steam bend to perfect circular shape in areas that are difficult. Putting the area you want to bend over a hard-boiling kettle for a few minutes is the easiest way to go here.
6) splice ends and glue to form hoop (hardest part)
7) carve and sand. Use progressively finer sand paper, up to a 400 grit at least.
8) apply finish, we suggest 8-9 coats of tung oil finish when starting off. There are many ways to finish wood, I have found this to be one of the most beginner friendly.
9) connect mesh bag to net.
Learn more at https://www.tenkarausa.com/make-tenkara-net